

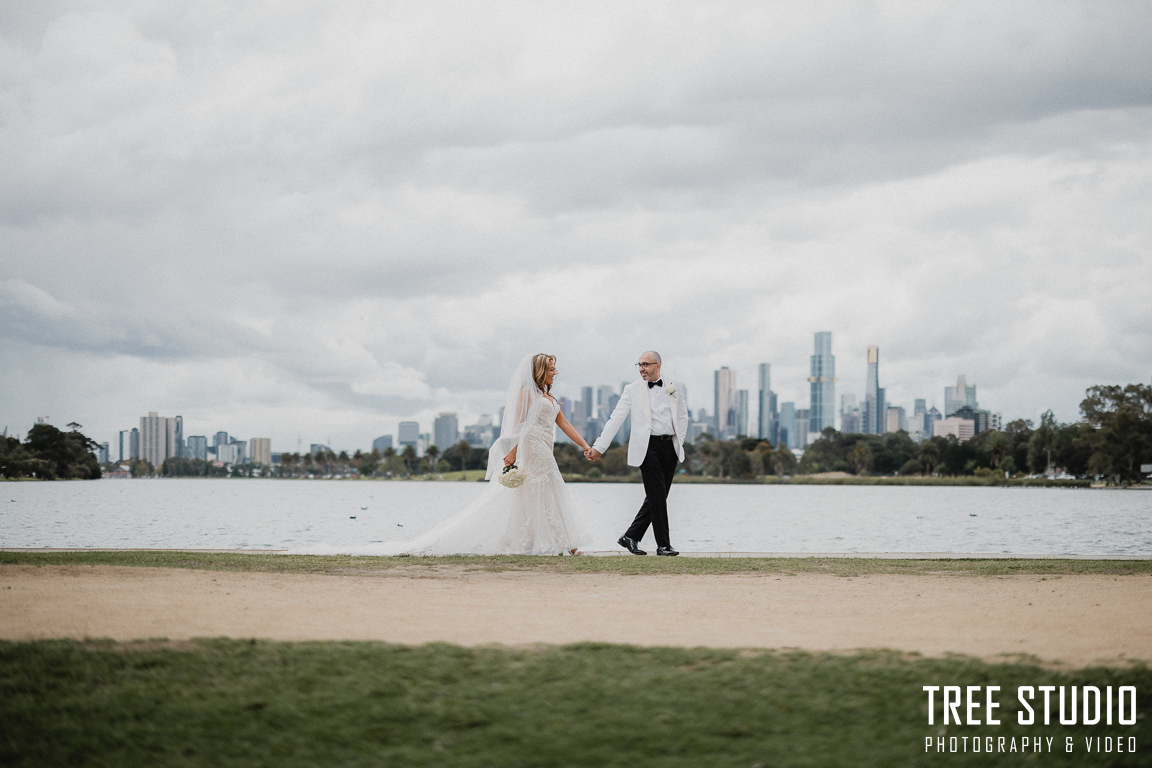
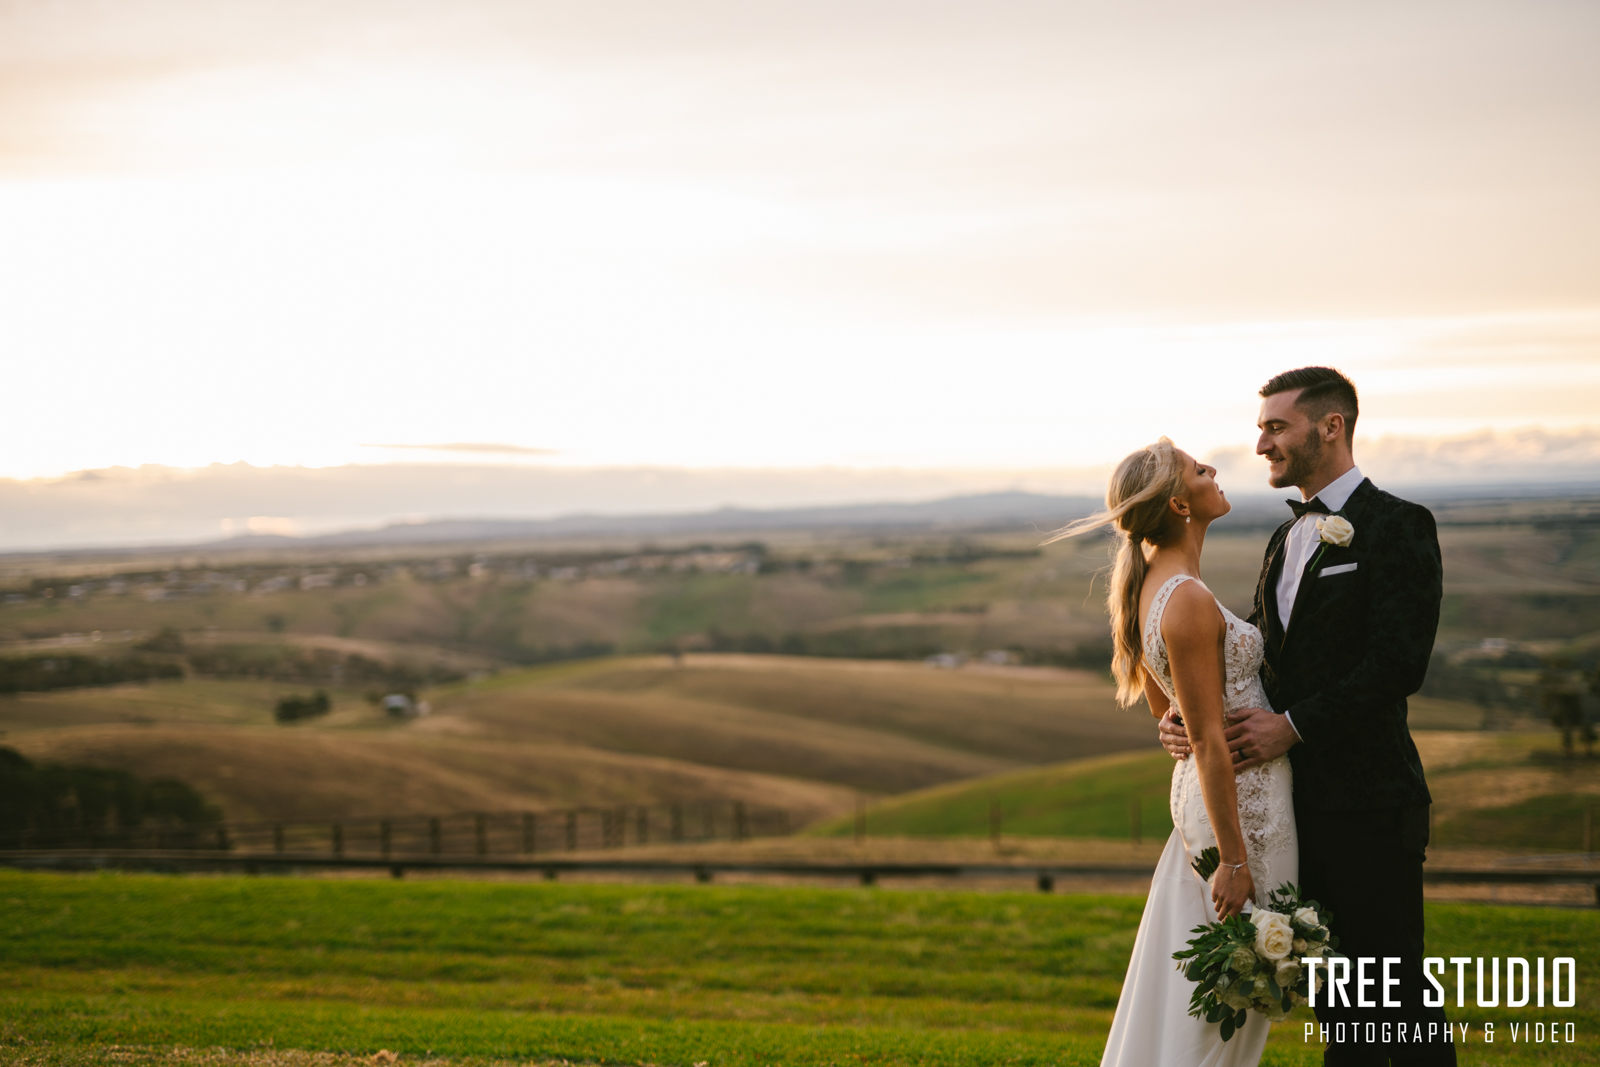
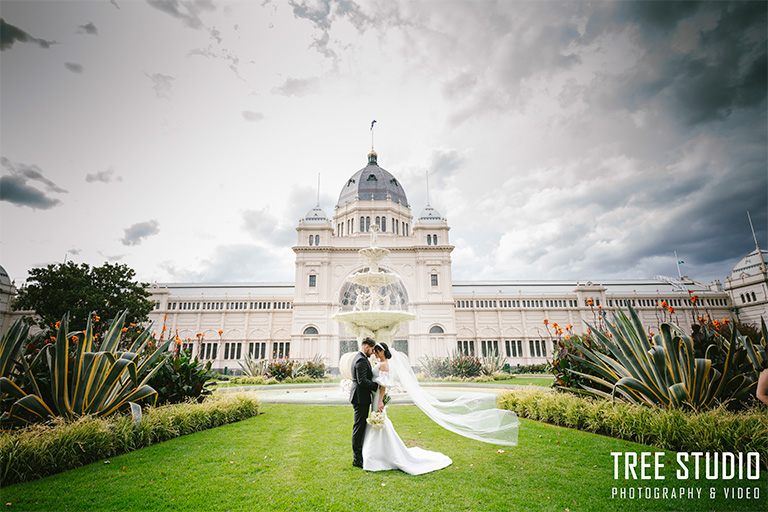
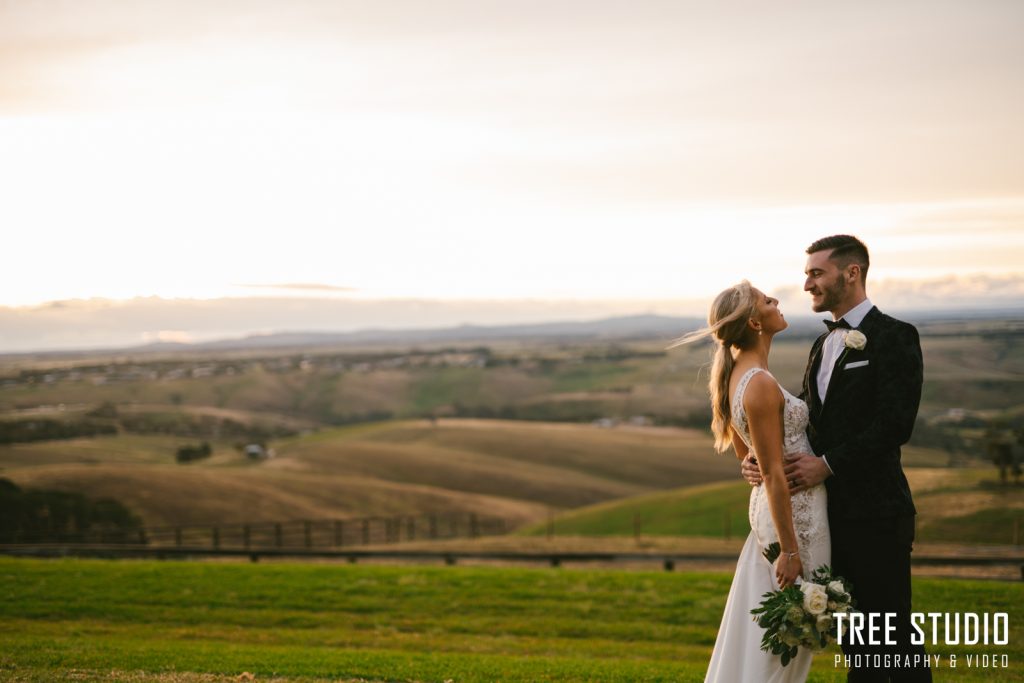
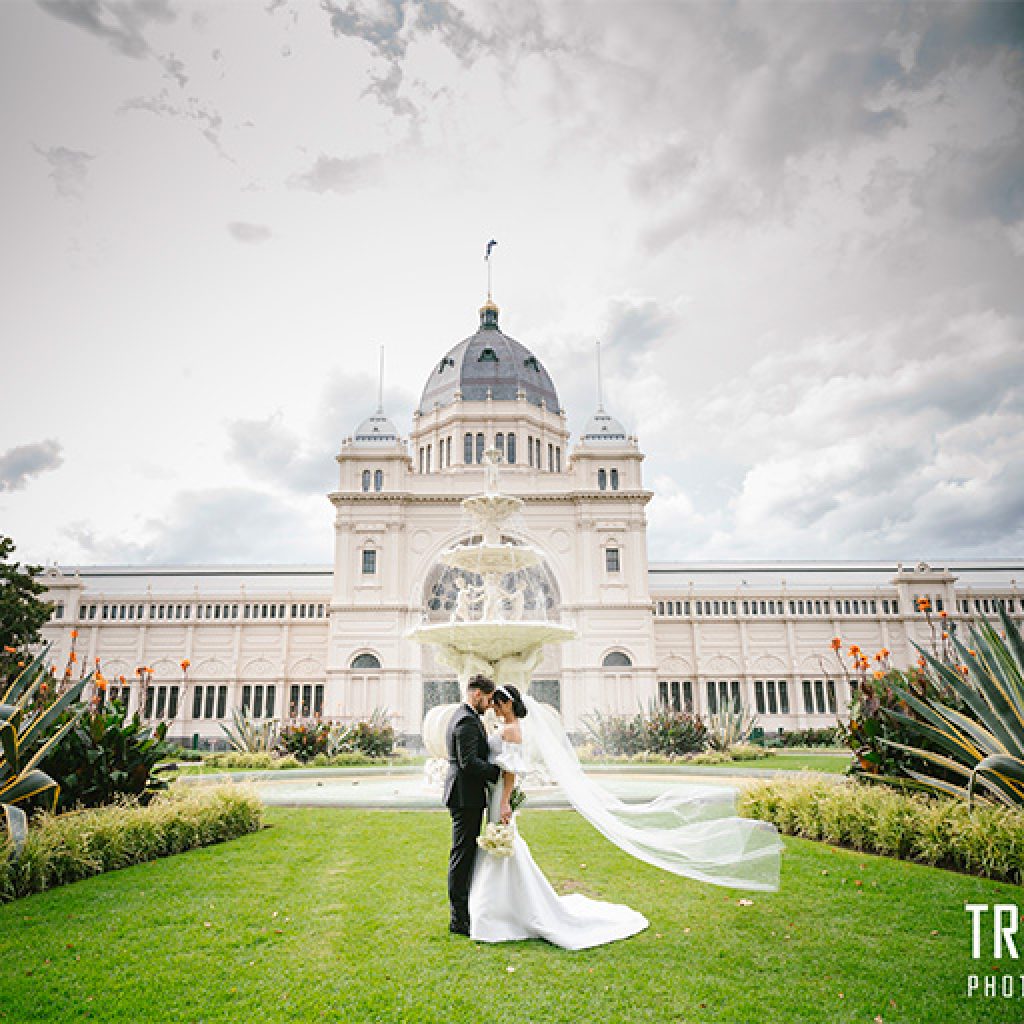
I am Nick, a Melbourne wedding photographer specialising in the Neo-Romantic style.
Over my six-year career, one question has surfaced more than any other:
“What if we aren’t ‘photo geniuses’? Will you guide us?”
The answer is always yes.
In this article, I am not here to deliver an obscure lecture. Instead, I want to show you—in a simple, relaxed way—how posing actually works and how gentle direction can naturally elevate your wedding imagery to the level of fine art.
“We Hate Posing” — And That’s Completely Normal
Many couples tell me, “I hate posing,” or “I don’t want cheesy photos.” I feel the same way.
I understand why the word "pose" scares couples who prefer a documentary or editorial style. Deep down, many instinctively resist it before they even understand what it truly means. My first goal is to clarify the essence of the pose and remove the unnecessary fear and negative bias surrounding it.
Why do we hate to pose?
As humans, we naturally resist the unfamiliar. Our ancestors feared exploring dark caves because of the unknown beasts hiding inside. Similarly, we fear the pose because we aren't professional models; we worry about looking awkward. That "beast" of self-consciousness lives in our hearts, trying to pull us away from being truly captured.
But posing isn't the problem—lack of direction is. When a pose looks awkward, it is usually due to the mechanical direction of an amateur. With an experienced eye, posing should feel as effortless as breathing.
Standing on the Shoulders of Giants
Posing is an elegant, romantic way to elevate your story. Consider the statues of David or the Venus de Milo in the Louvre. They are "posing," yet they represent the pinnacle of timeless grace.
As a Melbourne photographer, I don't try to reinvent the wheel. I absorb the essence of Renaissance masterpieces by Da Vinci and Raphael. There is nothing truly new under the sun. I simply stand on the shoulders of giants to enhance your natural beauty. If I could create an entirely new pose, my name would be in Wikipedia!
The Law of Universal Harmony
Even when photographers proclaim that everything should be "candid," true art requires a framework. The universe runs on regulation; the beauty of aesthetics is no different. Posing is the manner in which we approach ultimate harmony and balance—it does not impede beauty; it reveals it.
There are only 20 to 30 timeless poses based on universal principles of the human form that haven't changed in 2,000 years. My role is to select the specific form that matches your personality, your location, and your theme.
A Partnership of Co-Creation
A healthy relationship between a couple and their photographer is not one of "command" or "subordination." Instead, it is a cooperation to create something phenomenal.
The direction I provide gives you a clear form and a system. Within this structured elegance, you are free to show your true inspiration, character, and emotion. By following the guidance in this article, you will be ahead of 70% of couples. While only the top 5% are professional models, you will possess the confidence and knowledge to look far better than if you had no guidance at all.
I will show you how to inhabit these poses naturally in the 3-4 weeks leading up to your wedding day.
Groom Preparation Posing Guide
Practical Rules for “Getting Ready” Photos
These foundational posing principles apply to all groom preparation photos, whether standing or seated. Mastering them will elevate not only your getting-ready images, but also every portrait taken throughout the wedding day.
Fundamental Posing Principles
Body Posture
Open your chest and avoid rounded shoulders. Keep your upper body upright, paying close attention to neck alignment.
Good posture isn’t just for photographs—it conveys confidence and vitality. If possible, begin focusing on shoulder and chest training at the gym around three months before the wedding. Regularly checking your posture in the mirror after workouts can significantly improve both your appearance and overall presence on the day.
Hands
Unlike the bride—who often holds a bouquet or touches her veil—the groom’s hands are usually free. Natural and flattering options include:
- Both hands in pockets
- One hand in a pocket, the other resting naturally along the torso
To keep hand positions looking effortless, use subtle movements such as:
- Adjusting or straightening your watch strap
- Twisting cufflinks
- Fixing your bow tie or jacket
These small actions give purpose to your hands and create relaxed, candid moments.
Eye Expression
Maintain a calm, confident, or composed expression. Avoid rapid eye movement or constantly looking around.
Unfocused eye movement can make photos appear uncertain. Stillness in the eyes communicates confidence, strength, and presence.
Breathing
Deep, controlled breathing is essential. When your breath is steady and relaxed, your posture and movements naturally follow.
Breathing affects the nervous system, which in turn subtly influences your body language—often without you realizing it. While people may not notice this, the camera certainly does.
Intention & Awareness
Do everything with intention and purpose.
Every movement and pose should be consciously understood—not mechanically executed based on instructions like “chin up,” “chin down,” or “look left.” When you understand why you are making a movement, your brain sends clear signals to your nervous system. Without this understanding, conflicting signals can create tension and unnatural posing.
Intentional awareness creates authenticity.
Overall Movement & Mindset
All poses and movements should feel natural and unforced.
Avoid poses that don’t align with your personality or lifestyle. Every action should feel familiar and authentic. Move smoothly and confidently, and avoid rushed or flustered movements.
Groom Preparation Poses
1. Having a Drink with the Groomsmen
This typically takes place at the start of the groom’s preparation. When there are three or more groomsmen, a comfortable couch makes an ideal setting.
The groom can sit or stand among the group, holding a beer or whisky, chatting, laughing, and clinking glasses. This creates a relaxed, masculine atmosphere. If it suits your style, adding a cigar can enhance the classic gentleman aesthetic.
2. Mirror Shot in Suit or Tuxedo
If the groom’s home features elegant décor and a full-length mirror, take advantage of it.
Stand naturally in front of the mirror, open your chest, and adjust your shirt, collar, or boutonniere. Turn slightly to check your back—just as you would during a fitting.
Key tip: Look at yourself in the mirror, not at the photographer. This keeps the moment authentic. Sunglasses can add a subtle James Bond–inspired edge.
3. Putting on Your Shoes
To maintain a polished look, avoid bending forward while tying your shoes.
Instead, cross one leg over the other and keep your upper body upright. Tie most of the laces naturally, then refine the final details for the camera. This posture preserves clean, elegant body lines.
4. Portrait by the Window
This is one of the most timeless groom portraits—and for good reason.
Window light offers soft, flattering illumination, especially with sheer curtains. For a more cinematic effect, slightly narrow the curtains so focused light falls on the groom while the background remains darker. This creates a moody, hero-style portrait.
Keep movements natural by adjusting your watch, fixing cufflinks, or straightening your trousers. These subtle actions make the images feel genuine and relaxed.
5. Groom with Car or Motorbike
If you own a luxury car, sports car, or motorbike, incorporate it.
With a motorbike, sit confidently with relaxed posture, wearing sunglasses, and possibly holding a cigar. Look slightly upward at a 45-degree angle—calm, confident, and effortless. This can be done solo or with groomsmen.
For group shots, position the motorbike slightly forward, with groomsmen leaning casually against the car behind. This creates depth and keeps the groom as the focal point.
If only a car is available, stand in front of it with hands in pockets or rest an elbow casually on the roof—timeless, relaxed, and confident.
6. Sitting Portrait on a Chair
Choose a solid, decorative wooden chair if available. Sit comfortably, cross one leg, and allow your body to relax naturally.
You may:
- Read a favourite magazine (men’s fashion, travel, or automotive such as Top Gear)
- Enjoy a refined glass of spirits in elegant glassware
- Hold a pocket watch or an automatic wristwatch
- Smoke a cigar (only if appropriate and permitted in the home)
When seated, shift your weight slightly to one side—whichever position feels most relaxed and natural. You may rest an elbow on the chair arm, with your hand gently supporting your chin, and angle your face toward the main light source, such as a window.
You can look out at the scenery for a quiet, reflective moment, take a brief pause to centre yourself, or gently play with the wedding rings. These small, intentional actions help create calm, authentic, and emotionally grounded images.
For an old-fashioned, cinematic mood, narrow the window light so it highlights the groom while keeping the surrounding space darker. This contrast enhances depth, drama, and a timeless character.
7. Walking in Style
When you and your groomsmen are dressed up, you don’t need to stay confined indoors. Outdoor shots can add movement, energy, and natural light to your photos. For example:
- Walk casually on a quiet street if your surroundings are safe and free from traffic.
- Use areas like a beautiful swimming pool, garden, or driveway for creative compositions.
A fun and iconic walking pose idea is inspired by The Beatles’ “Abbey Road” album cover:
- The groom leads the group, walking at the front.
- Groomsmen follow behind, keeping equal distance between each person.
- The swimming pool or a similar foreground can add depth and visual interest.
To make the walking pose look natural:
- Move with relaxed confidence.
- Adjust your jacket, cuffs, watch, or bow tie as you walk.
- Occasionally glance toward the camera for candid engagement without breaking the flow.
This approach creates dynamic, stylish, and authentic images while showing personality and camaraderie.
Bride Preparation – Wedding Photo Pose Guide
In contrast to the groom, the bride’s poses emphasise elegance, romance, softness, and femininity. Brides naturally interact with details such as bouquets, jewellery, veils, and wedding trains, as well as different dress designs, allowing for richer variation and expression.
Preliminary Posing Principles for the Bride
Body Posture
Open your chest and avoid rounded shoulders. Keep your upper body tall and your neck long—this naturally eliminates tension and softens the jawline.
Rather than facing the camera directly, turn your body slightly to the side. Shift your weight onto one leg and place the other gently forward. This creates an elegant S-curve, enhances natural body lines, and adds movement to the dress.
Whether standing or seated, this principle creates a slimmer, more graceful silhouette.
Hands
Unlike the groom, the bride has many natural interactions for her hands—playing with flower petals, lifting the dress while walking, touching the veil, adjusting jewellery, or holding the bouquet.
Whenever your hands interact with flowers, veil, or dress layers, keep your fingers soft and relaxed. Create gentle, natural curves—imagine how a pianist places their fingers on the keys, or how a violinist delicately holds the bow. This softness brings refinement, femininity, and emotional warmth to the image.
Let the Dress Flow Like Water
Your wedding dress is a significant investment, and once you are wearing it, there’s no need to remain completely still. Allow the dress to move—like water.
When walking, you may hold the bouquet in one hand and gently lift the dress with the other. Walk or even lightly jog at a natural, elegant pace. The bustle or inner layers will not hinder your movement and will help prevent accidentally kicking the dress with each step.
For a more cinematic moment, you can lift the dress with both hands, walk a few steps in one direction, then softly turn or swirl in the opposite direction. As the fabric flows, ballgown skirts or long trains can open beautifully—like a blooming flower—creating dramatic, romantic imagery.
Eye Expression
Unlike the groom’s eye expression, the bride’s gaze can be gentle, charming, calm, confident, or joyful. A slightly cool or poised expression is also appropriate for a high-fashion editorial style.
Movement Rhythm
To achieve a romantic and elegant look, keep your movements gentle, smooth, and cohesive.
For example, when standing in front of the mirror, slowly turn to let your dress flow, lightly touch flower petals, or take your time putting on earrings. The rhythm should feel relaxed, fluid, and harmonious—allowing moments of quiet reflection.
Avoid rushing any movement or pose. A calm, mindful mindset will naturally translate into confident, graceful, and authentic images.
8. Admire Your Wedding Dress
Before putting on your wedding dress, you can hang it on a window frame or place it on a mannequin in a stylish way. Take a moment to stand or sit and truly gaze at your gown, imagining how your groom will react when he first sees you walking down the aisle.
Gently touch the fabric to feel its texture. You can run your hands from the top of the dress to the waist, letting your eyes follow your fingertips. The key is your mindset—you are admiring your dress and feeling the excitement of your first look in front of your guests.
To make poses appear natural, gently shift your weight from one foot to the other. When you touch the dress, try to move effortlessly, almost forgetting the photographer is there. This allows candid, authentic shots to be captured.
Lighting is also important. If standing near a window, angle your body slightly toward the light rather than turning your back to it. Side light will highlight your skin beautifully and reveal subtle details of the dress.
9. Putting on Your Shoes
Many dresses have bustles or layered designs, which can make putting on shoes a little tricky. If you’ve invested in bridal shoes you love, and you’re happy with how they look on your legs, consider putting them on before fully stepping into your dress.
Sit on a chair—ideally a high stool. Avoid couches with very soft cushions, which can make your posture look less elegant. A firm wooden or metal chair is ideal. On a high stool, you can cross your legs gently while adjusting the dress. Move slowly and gracefully so your photographer can capture both full-body and close-up shots, emphasizing the meticulous design of your shoes.
10. Mirror—Another World of You
Mirrors are a wonderful tool for creating elegant, natural poses. Whether you’re putting on jewelry at a dressing table or checking your dress in a full-length mirror, it instantly shows how beautiful you look.
Using a mirror allows you to adjust your posture subtly and naturally, without needing constant guidance from your photographer. The photographer can capture both your reflection and your real-world presence, offering unique and magical perspectives. Mirror shots create a beautiful interplay between the “mirror world” and the real world, giving both the bride and photographer a special experience.
11. Using Props
Props are a clever way to add fun, elegance, and personality to your portraits. For inspiration, you could use pearl sunglasses to recreate the classic Audrey Hepburn look from Breakfast at Tiffany’s, or feather fans for a neoclassical style—partly covering your face to create a mysterious yet sophisticated pose.
Other props might include your favorite lipstick, a stylish perfume bottle, or candles. Using items familiar to you can make your poses feel natural and confident, keeping your portraits lively and unique. Props turn everyday objects into tools for creativity, helping you feel comfortable and playful in front of the camera.
To be continued. This blog is updated on a regular weekly schedule.
